Integrating Tapo cameras with Frigate, including 2-way audio

Frigate is an open-source Network Video Recorder (NVR) designed for home security systems, offering powerful object detection and recording capabilities. On the other hand, Tapo cameras, such as the C110 and C210 models, are affordable consumer-grade options that provide RTSP streams and proprietary 2-way audio support. In this guide, we’ll walk through the process of integrating Tapo cameras with Frigate, including enabling 2-way audio via go2rtc bundled with Frigate.
C110 and C220
Setting Up Tapo Cameras
Before configuring Frigate, you’ll need to prepare your Tapo cameras:
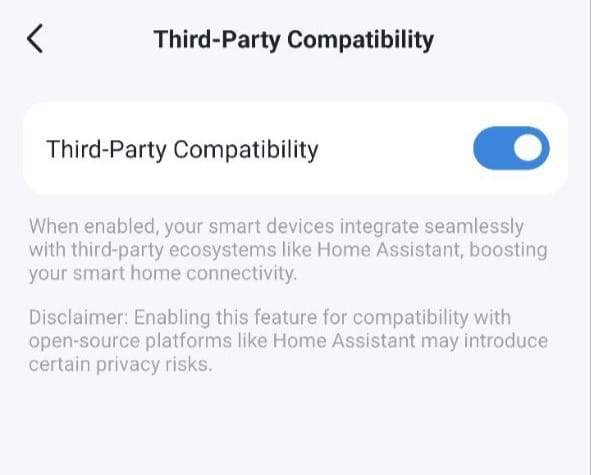
- Enable Third-Party Compatibility:
Open the Tapo app and enable third-party compatibility for your account. This step is crucial to allow external applications like Home Assistant to access the camera streams.
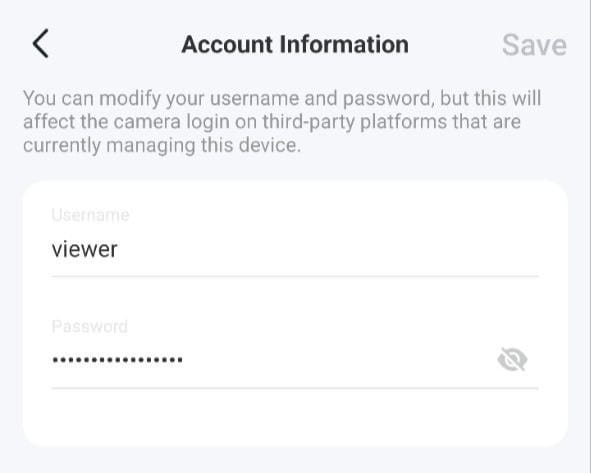
- Create a Camera Account:
For each camera, enable the ‘Camera Account’ option. This creates a unique login for third-party access. This will be different from your main Tapo account credentials.
Once both are set, for safe measure, I recommend rebooting the cameras just to be sure all the settings take.
Configuring Frigate
Now it's time to set up the cameras in Frigate. I've tested a few different configurations and found this to be the most stable. There may be others that work, but I haven't found a downside to this one.
{FRIGATE_LIVING_PASSWORD} is the password set earlier as the 'Camera password'
{FRIGATE_TAPO_SHA256} is a SHA256 hash (in all caps) of the password used to log into your Tapo app account. On Linux, you use the following command to generate it: echo -n "cloud password" | shasum -a 256 | awk '{print toupper($0)}'. To validate your hash, SHA256 of “test” (without quotes) should yield: 9F86D081884C7D659A2FEAA0C55AD015A3BF4F1B2B0B822CD15D6C15B0F00A08.
The Frigate config for a Tapo C220 camera looks like this, the C110 would look the same except omit the onvif section since only C110 does not have pan/tilt capability:
...
go2rtc:
  streams:
    living:
      - ffmpeg:rtsp://viewer:{FRIGATE_LIVING_PASSWORD}@192.168.10.55:554/stream1
      - ffmpeg:living#audio=aac
      - tapo://admin:{FRIGATE_TAPO_SHA256}@192.168.10.55
...
cameras:
  living:
    ffmpeg:
      output_args:
        record: preset-record-generic-audio-copy
      inputs:
        - path: rtsp://127.0.0.1:8554/living
          input_args: preset-rtsp-generic
          roles:
            - record
            - detect
            - audio
    onvif:
      host: 192.168.10.55
      port: 2020
      user: viewer
      password: {FRIGATE_LIVING_PASSWORD}
...
frigate.yaml
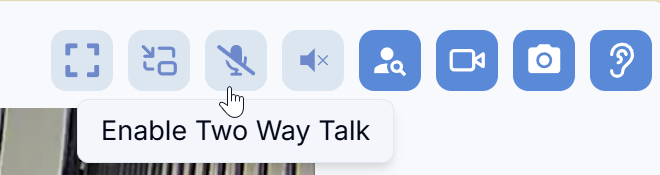
After saving the configuration, restart Frigate and test live video and audio streaming to confirm everything is working as expected. You can validate that everything is working, including 2-way audio using the Frigate UI:
Conclusion
Integrating Tapo cameras with Frigate extends their functionality, bringing affordable yet powerful home security options. By following these steps, you can leverage both video and 2-way audio capabilities, enhancing your home monitoring setup.